Integrate and Deploy React with Phoenix
Table of Contents
You've just finished your lightning fast Phoenix JSON API, what's next?
Motivation
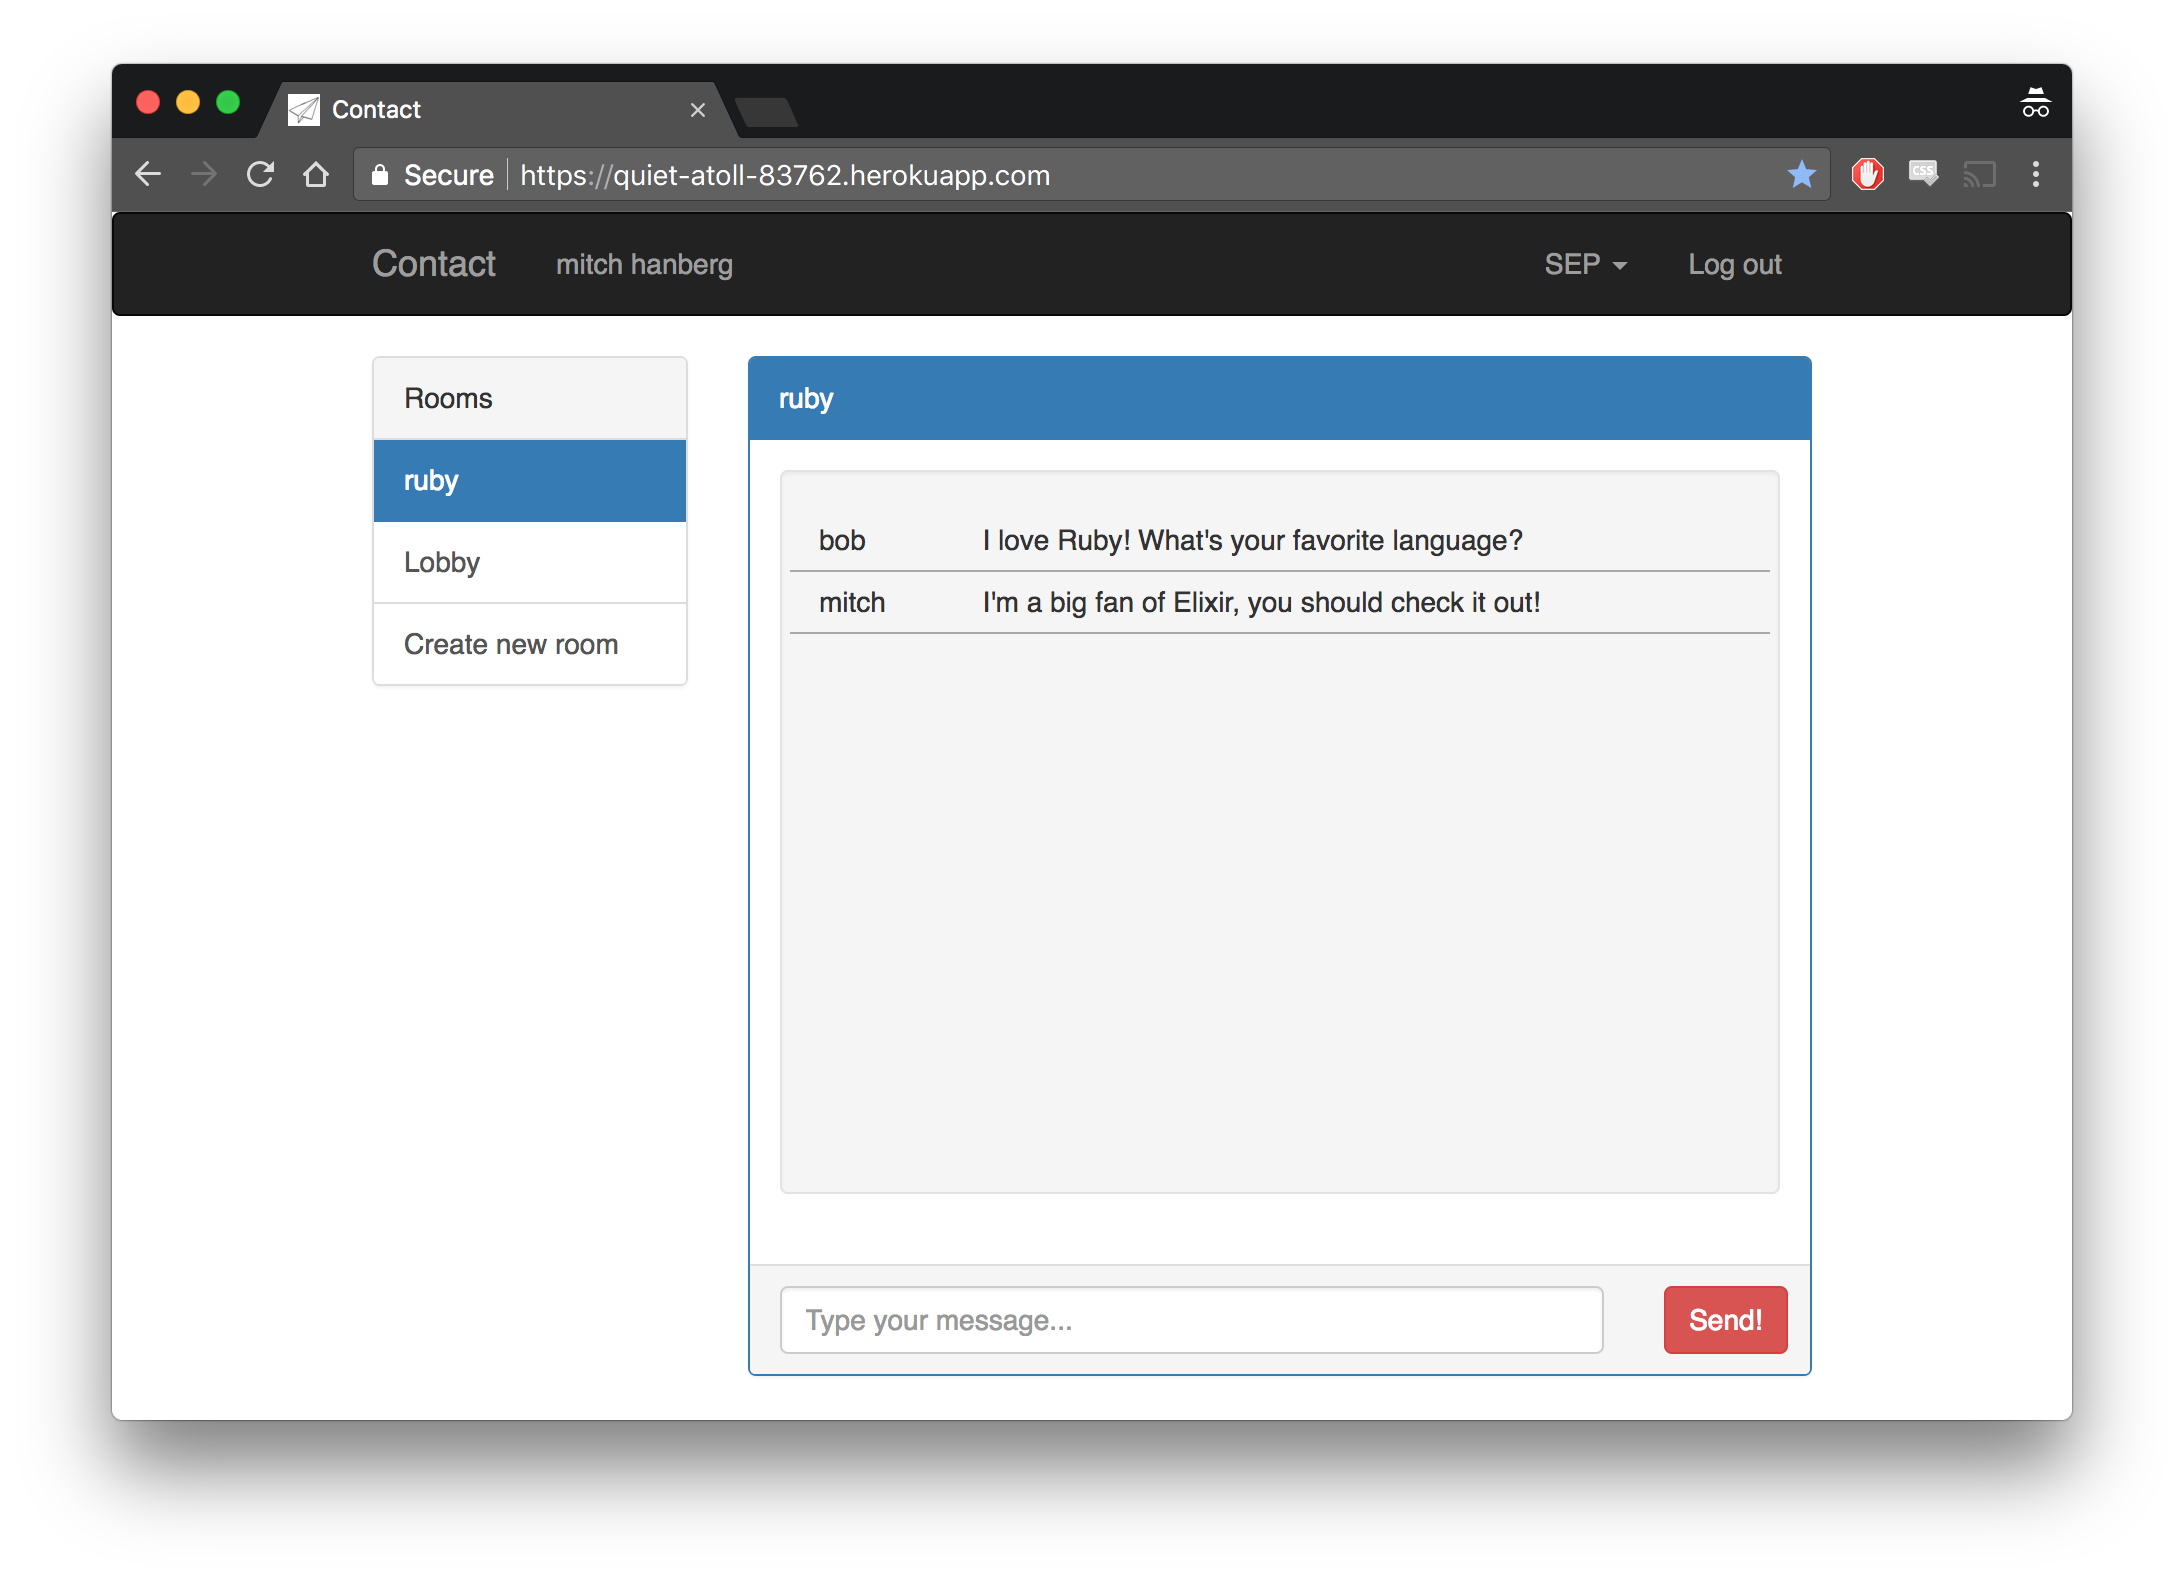
My most recent side project, Contact, is a JSON REST API written with Elixir and Phoenix, designed to be the backend to an instant messaging application (e.g., Slack). There was a hackathon coming up at work, and I thought it'd be fun to make a frontend for Contact during it, and although Contact's development was thoroughly test-driven, I wanted to make sure that my API was ready to be used.
The hackathon was two weeks away, so I needed to quickly prototype a UI to flesh out any oversights I made.
I decided to go with React over basic server-rendered html templates because my next project at work will be using React and figured I could use this to level up my skills.
Let's add React!
If you generated your Phoenix project using the mix phx.new --no-html --no-brunch command, you're good to go!
If not, let's rip out the stock html and Javascript scaffolding that Phoenix generates for you. You can safely remove the priv/assets directory (which contains all of the Brunch configuration) and lib/<path to your web directory>/templates, along with any Phoenix views, controllers, and routes that you aren't using.
A good place to install our React app is the priv directory, so let's move into there and run the installer.
# priv/
$ npx create-react-app contact-react
$ cd contact-react
$ yarn start # npm start if you don't use yarn
create-react-app gets us set up with React, Babel, and Webpack out of the box, allowing us to get started developing our application and not mess around with a ton of esoteric configuration.
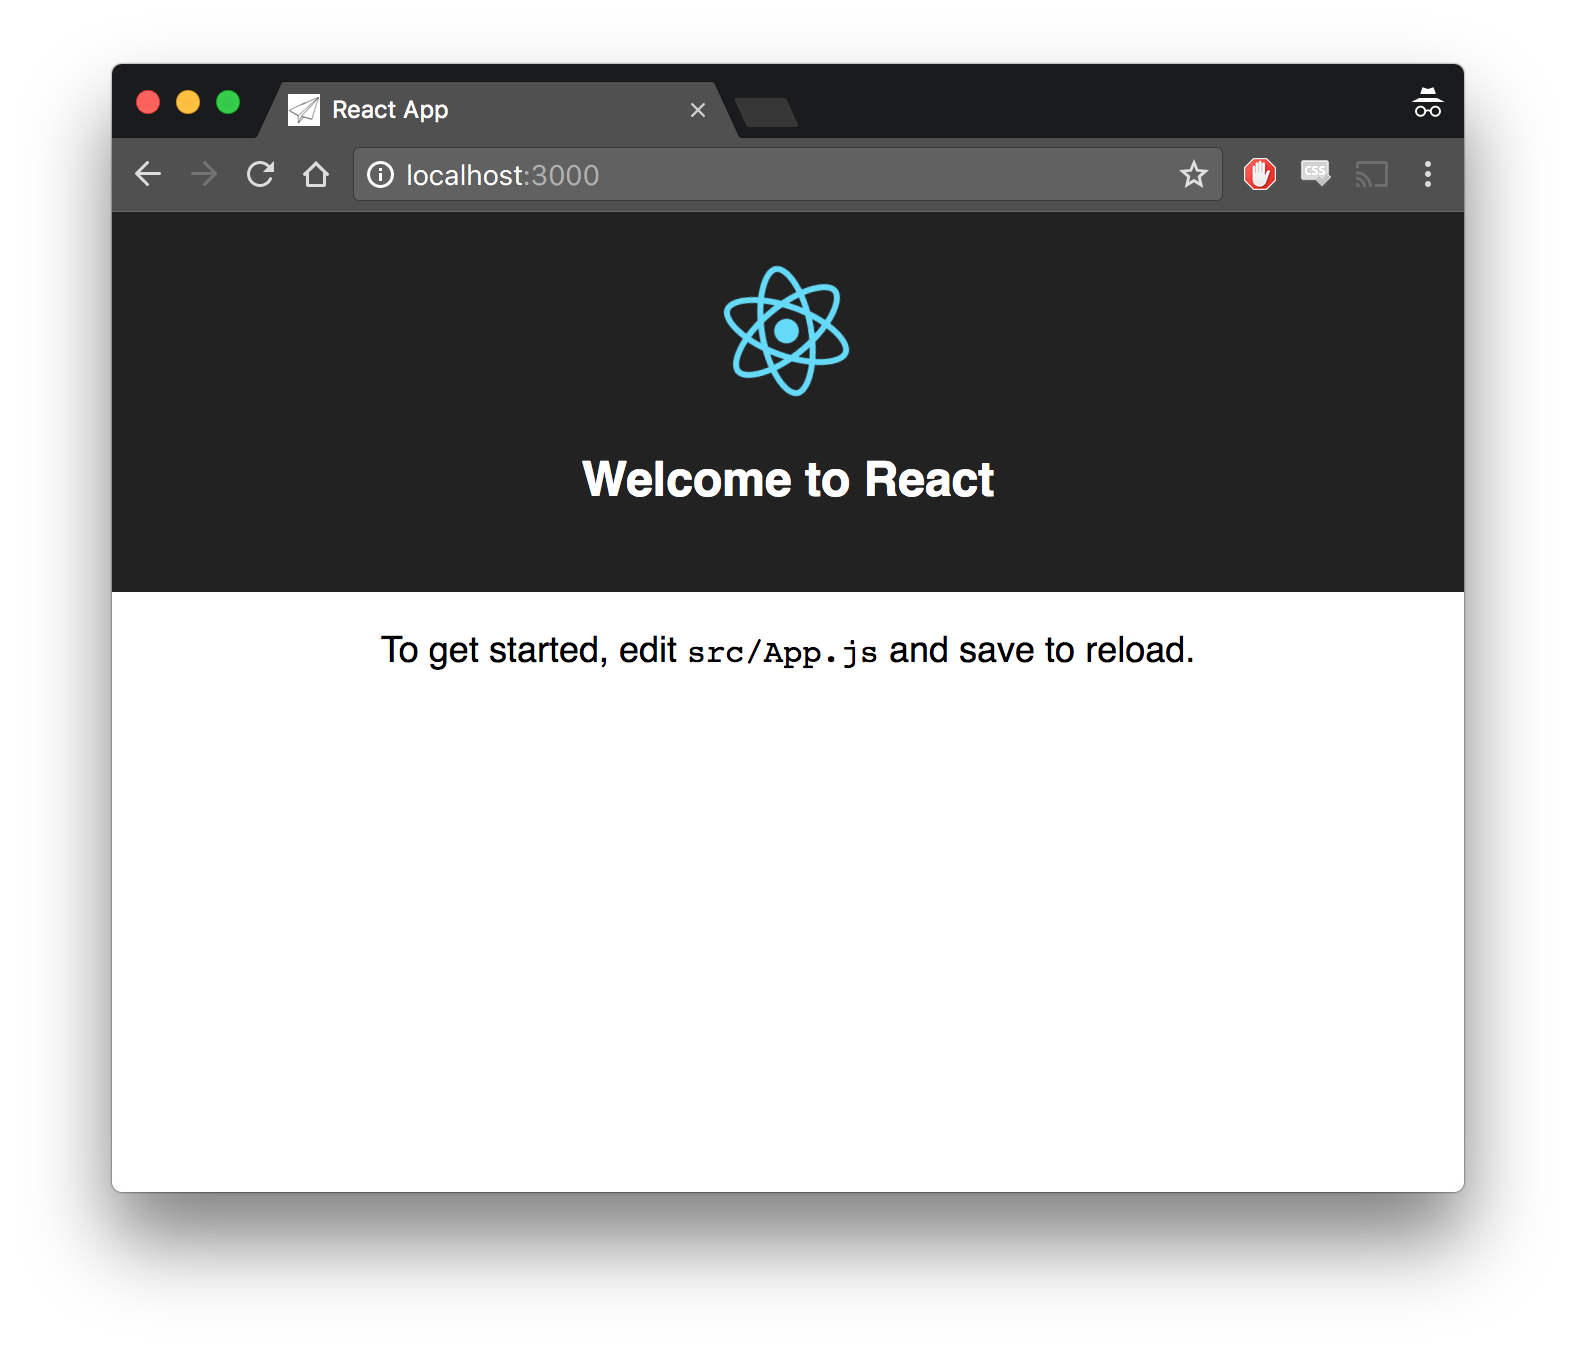
Success!
We now have a development server running, serving the generated React application.
Connecting the frontend to the backend
You may have noticed that your Phoenix server and the React development server are running on two different ports, how can we allow our two applications to communicate with each other?
Development
We'll set up a proxy for development, so we won't have to specify the absolute URI of the API endpoints we want to hit. Let's add this line to our package.json.
"proxy": "http://localhost:4000"
This line will set all network request URIs to be made relative to our Phoenix server.
Production
In production, we'll have the Phoenix server send the frontend to the client.
To accomplish this, we'll set up the root endpoint to serve the contents of the build directory of our React app.
# endpoint.ex

plug(Plug.Static.IndexHtml, at: "/")
plug(
  Plug.Static,
  at: "/",
  from: "priv/contact-react/build/",
  only: ~w(index.html favicon.ico static service-worker.js)
)
Plug.Static.IndexHtml will allow us to serve the index.html that Webpack generates from the root endpoint.
Now if we run yarn build, start our Phoenix server, and navigate to localhost:4000 in the browser, we should see our React application!
Deployment
Since we have added another build step to our workflow, we'll need to include that in our deployment process. I will describe the steps needed to deploy using Travis CI.
I added a before_deploy step and set the skip_cleanup flag to the deploy step to my .travis.yml file, resembling the following.
before_deploy:
  - rm -rf ~/.nvm && curl -o- https://raw.githubusercontent.com/creationix/nvm/v0.33.8/install.sh | bash && nvm install node && nvm use node
  - cd priv/contact-react && yarn install && yarn build && cd -
deploy:
  skip_cleanup: true
A breakdown of what is happening here:
- Reinstall the latest version of Node Version Manager.
- Install the latest version of Node.js.
- Set the current version of Node.js to the one we just installed.
- Build our React application (Yarn is already installed).
- Tell Travis to deploy the compiled React application (otherwise, Travis would see the
builddirectory as a build artifact and clean it up before deployment).
It's time to get to work!
In 10 minutes we've gone from nothing to a deployed application!
Following these steps allowed me to get right to business; I was successful in prototyping 90% of my application before the hackathon.
References
- http://www.petecorey.com/blog/2017/04/03/using-create-react-app-with-phoenix/
- https://docs.travis-ci.com/user/deployment/heroku/#Deploying-build-artifacts
- https://docs.travis-ci.com/user/deployment/heroku/#Running-commands-before-and-after-deploy